
[💡] Text Autocomplete with Espanso (Text Snippet/Replacement)
✨ GPT Summary
A brief summary of how to set up and use text autocomplete with Espanso.
Introduction
To briefly explain Espanso, it is an app like this:
In other words, Espanso is an open-source snippet expansion tool that lets you automate repetitive text input.
How to Use It
- Go to the official Espanso website and follow the installation method for your operating system.
- macOS users can install it easily with Homebrew.
- macOS users can install it easily with Homebrew.
- Check the location of Espanso’s configuration file (Config Path), then open it in a text editor.
- In this example, I use VSCode to edit the configuration file.
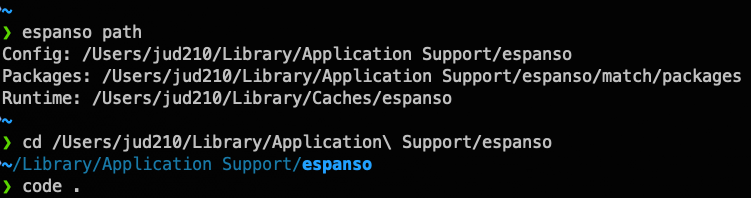
- In this example, I use VSCode to edit the configuration file.
- Register keywords and autocomplete content for your own environment and customize them.
- You can freely configure anything from simple text replacement to more complex snippet autocomplete.
- You can freely configure anything from simple text replacement to more complex snippet autocomplete.
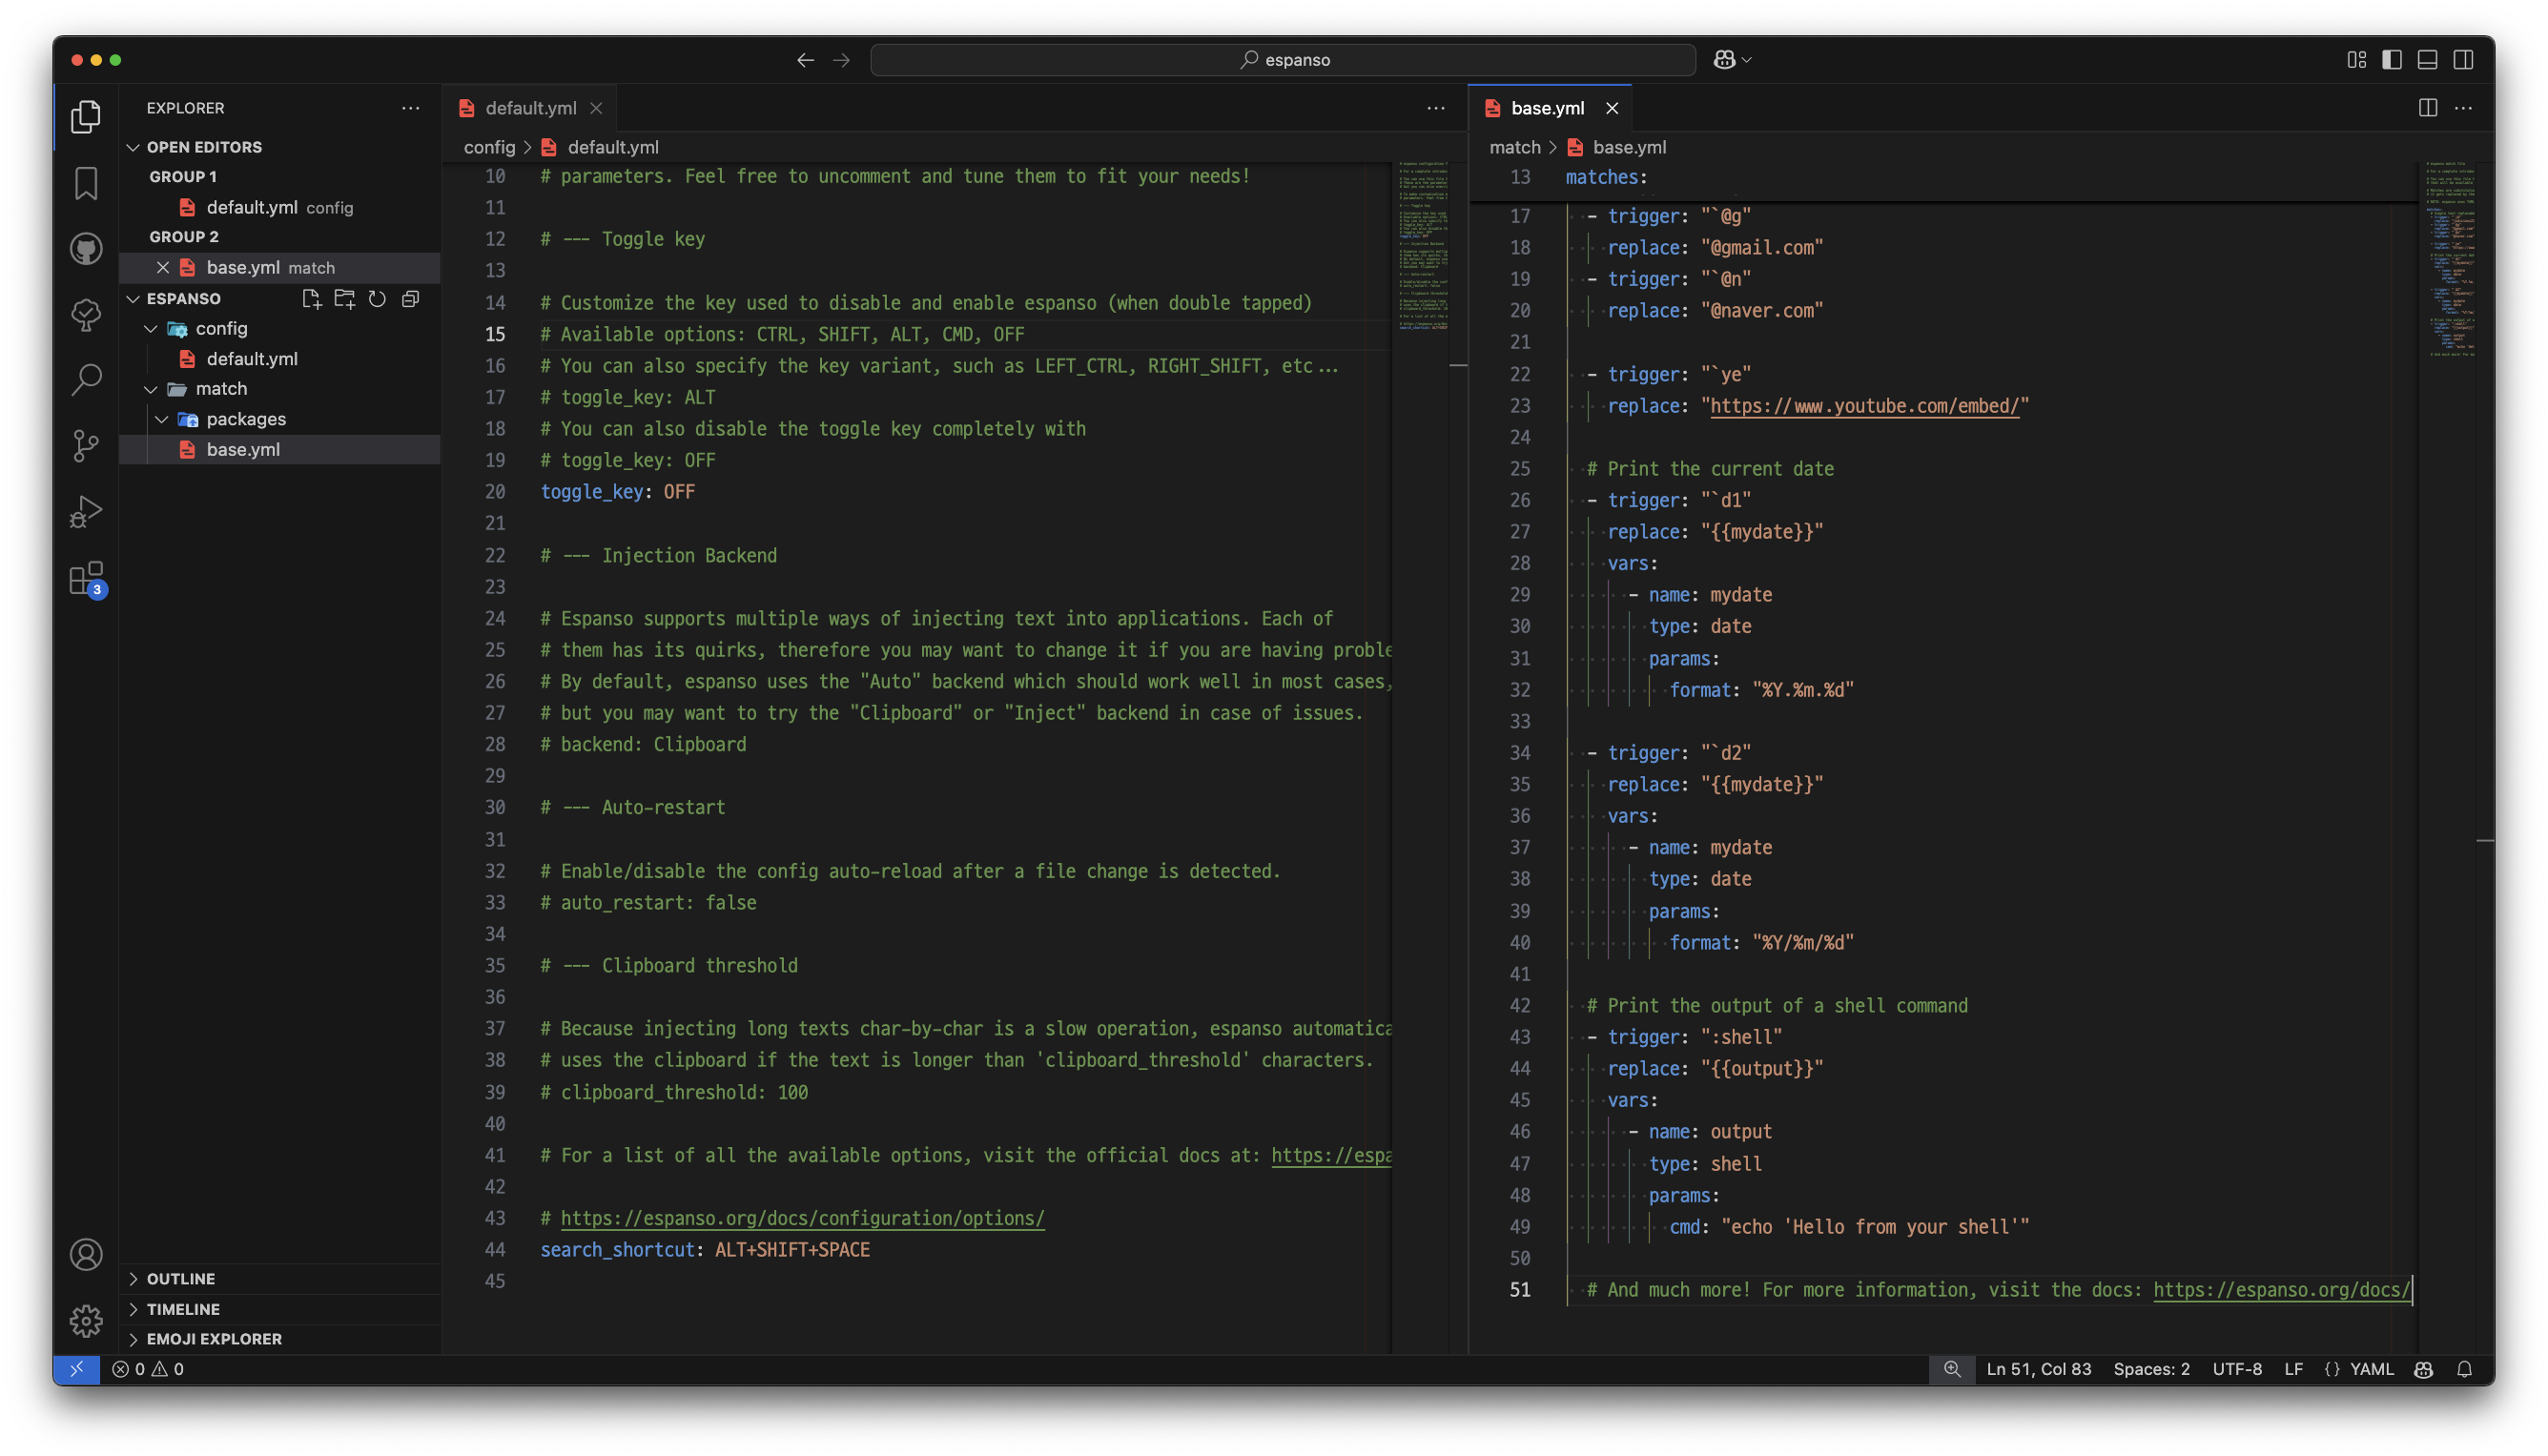
Below are the changes made to the espanso/config/default.yml file.
toggle_key: OFF
search_shortcut: ALT+SHIFT+SPACE
# search_shortcut: ALT+SPACE is set as the default value.
Below are the changes made to the espanso/match/base.yml file.
matches:
  # Simple text replacement
  - trigger: ";@g"
    replace: "@gmail.com"

  - trigger: ";ye"
    replace: "https://www.youtube.com/embed/"

  - trigger: ";rt"
    replace: "Thank you"

  # Print the current date
  - trigger: ";d"
    replace: "{{mydate}}"
    vars:
      - name: mydate
        type: date
        params:
          format: "%Y.%m.%d"

  # Print the output of a shell command
  - trigger: ":test"
    replace: "{{output}}"
    vars:
      - name: output
        type: test
        params:
          cmd: "echo 'Hello World!'"
References
For more detailed guides, refer to the resource below.
Leave a comment